Sendgrid Cheatsheet
Send email from wordpress site using sendgrid
SendGrid is a cloud-based email delivery service that allows businesses to send transactional and marketing emails at scale. It provides a reliable infrastructure for managing email delivery, tracking, and analytics.
** Prerequisites **
Login to your sendgrid account otherwise the links below will not work.
** Benefits of using SendGrid to send emails from your website include: **
- Reliability: SendGrid offers a robust and scalable infrastructure, ensuring high deliverability rates for your emails, whether they are transactional or marketing in nature.
- Email Deliverability: With features like email authentication, dedicated IP options, and adherence to email industry best practices, SendGrid helps improve email deliverability, ensuring that your messages reach recipients’ inboxes.
- Analytics and Tracking: SendGrid provides detailed analytics on email performance, allowing you to track open rates, click-through rates, and other key metrics. This data helps you assess the effectiveness of your email campaigns.
- Scalability: Whether you’re a small business or a large enterprise, SendGrid can scale to meet your email delivery needs. It handles the complexities of sending large volumes of emails efficiently.
- API Integration: SendGrid offers a robust API that allows seamless integration with your website or application, enabling programmatic control over email sending and tracking.
- Automation and Personalization: SendGrid supports automation workflows and personalization, allowing you to set up triggered emails based on user behavior or preferences, leading to more targeted and engaging communication.
- Responsive Support: SendGrid provides customer support and documentation to assist users in implementing and optimizing their email delivery strategies.
- Security Features: SendGrid includes features like DKIM (DomainKeys Identified Mail) and SPF (Sender Policy Framework) to enhance email security and verify the authenticity of your email messages.
By leveraging SendGrid, businesses can enhance their email communication strategy, ensuring that messages are delivered reliably, tracked effectively, and contribute to overall user engagement and satisfaction.
Use SendGrid SMTP to send emails from your website.
Login to SendGrid account
- Generate and api key
- Create a sender id
- Authenticate Domain - to send email from your custom domain. You will need to add some sendgrid records to your dns records. This will ensure maximum mail delivery success.
Create API Key
Create an API Key for your sending Application
Install SMTP Plugin
Now on your website we need a plugin to enable ensending through SendGrid. Install the following plugin.
Download the WordPress SMTP Plugin
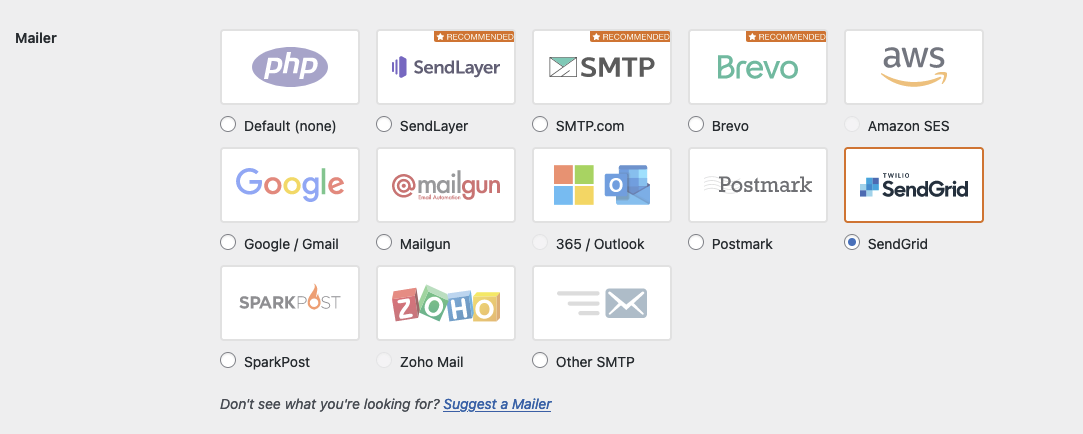
Once installed, choose to send email using the Sendgrid option
Configure SMPT Plugin
Ensure the send email address set in smtp settings matches the email you set in
https://app.sendgrid.com/settings/sender_auth
Test mail is working
Use SMPT built in email testing tool to send test email UI
- Go to tools
- Send test email
Ensure any website forms use the sendgrid from email address
- form notifications need to use the sendgrid from email address to send mail
Sendgrid Single Sends
Use sendgrid to send email to your email list.
Create a Sender ID
You just need to create an email address to send all the mail from. You can create multiple sender ids. Create a sender id
Create a simple spreadsheet.
The contacts need to be imported into Sendgrid via a CSV file.
The headers required for the spreadsheet are minimal all you really need is email and first_name. Populate your spreadsheet columns with the email addresses and the first name of your clients respectively.
Import your contacts csv
Every email list needs a list of emails. create your contact list and upload your csv
Dynamic Data
Now, this is a really powerful feature. The headers in your spreadsheet are actually up to you. Amazing. So you can create a Header or a column called custom customer link. And you could populate the custom customer link column with all your custom link data, respectively. Esentially sending out a custom link to all your clients. For example. This technique could be great for sending out custom reports to a select group of clients.
Create your email
create a single sends So you start off by creating a single send. This involves importing your contacts and creating the email that you want to send, and then sending it to your selected contact list.
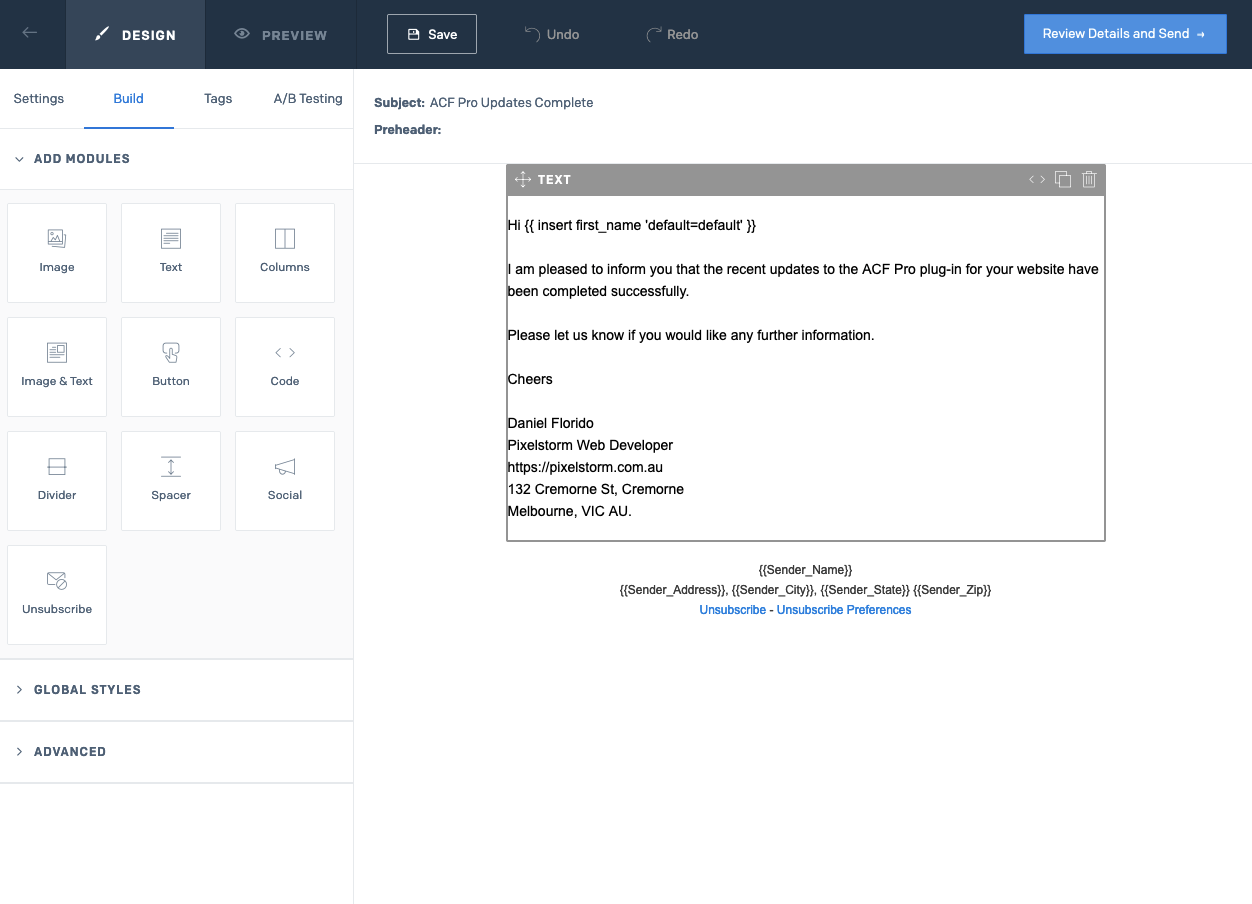
Build your email
As part of the build process, you can insert text blocks, images, gifs, buttons, text, and text image layouts.
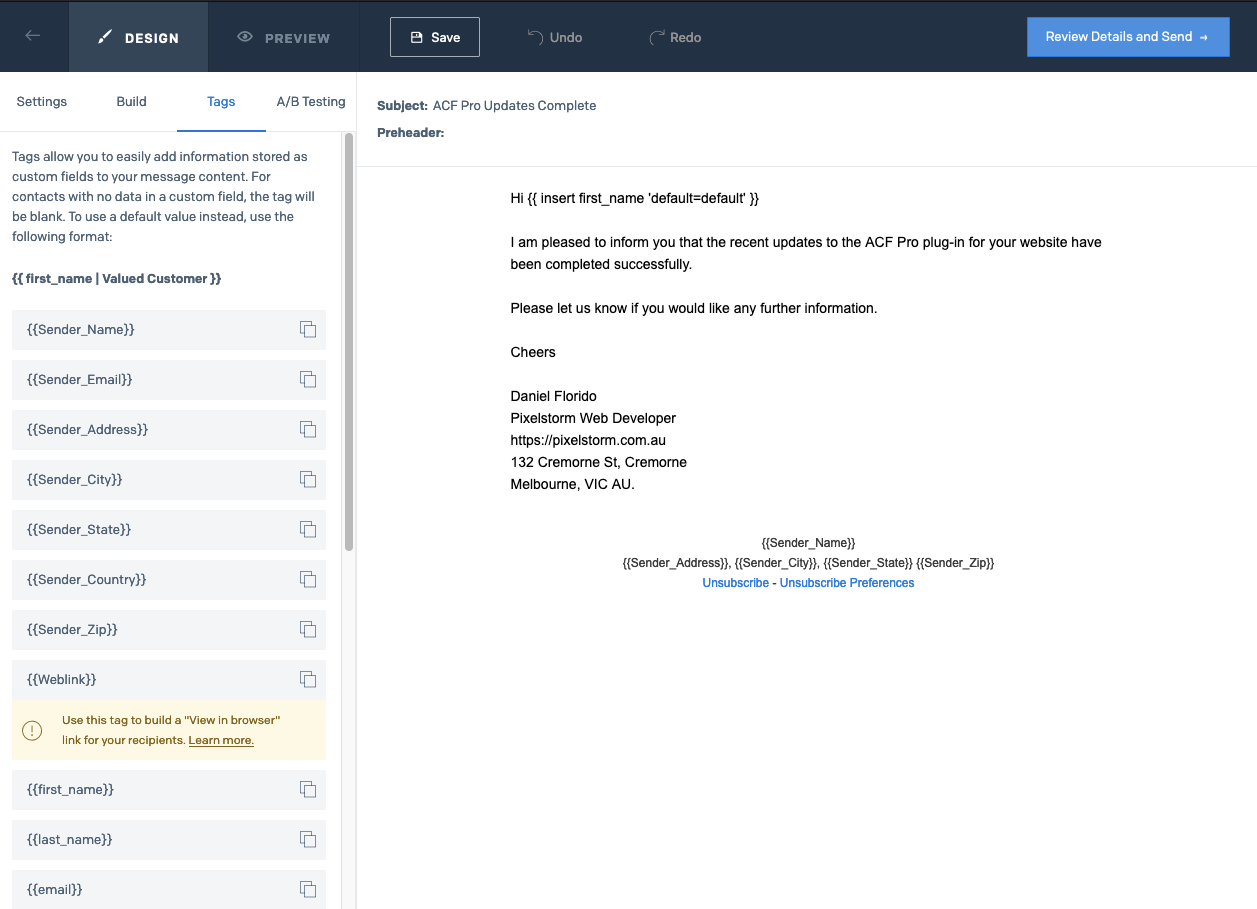
Add dynamic text
You can add dynamic data to your emails using things called tags.
This is where you can insert dynamic piece of text, such as first name
1
{{ insert first_name 'default=default' }}
The default attribute in there is what will display if no first name attribute is supplied in your spreadsheet.
Test your email
To the test email I created a special list of contacts just for our internal team. I sent the email out to the internal team first before sending it on to clients. I just wanted to make sure it looked good before I sent it out. There are more sophisticated features for device testing emails in Saint grid, which require the use of credits. I ran out of credits pretty fast, so I gave up on that method. If your email is really simple and not custom coded, there, shouldn’t be any need to device test layout. If you’re just sticking to the pre-existing, basic building blocks it should all just work.
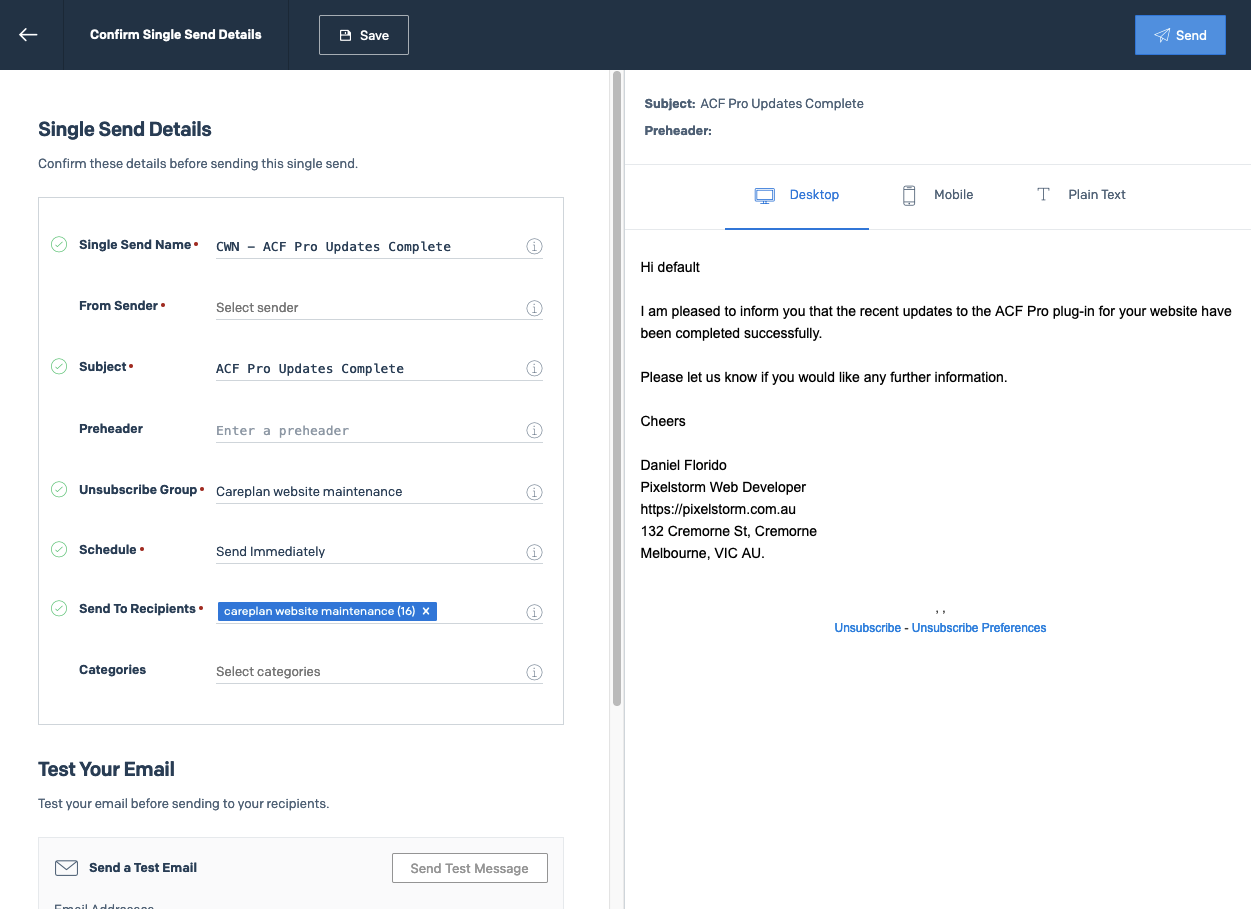
Send your email
This is pretty straightforward, but the key part to note here is that you’re gonna choose to send it to the contact list that you created and imported earlier. There is also the option to exclude individual email addresses from the list.


